
Best Food in Canada’s Territories

When it comes to the best food in Canada’s territories, there’s not a lot written so we are happy to share our tasty research with you in this post. Our founder, Karen Anderson, has been compiling her favourite Canadian foods from coast to coast to coast since 2006 and we are happy to share a bit of of her research here. There are three territories in Canada.
YUKON TERRITORY, NORTH WEST TERRITORY, NUNAVUT TERRITORY
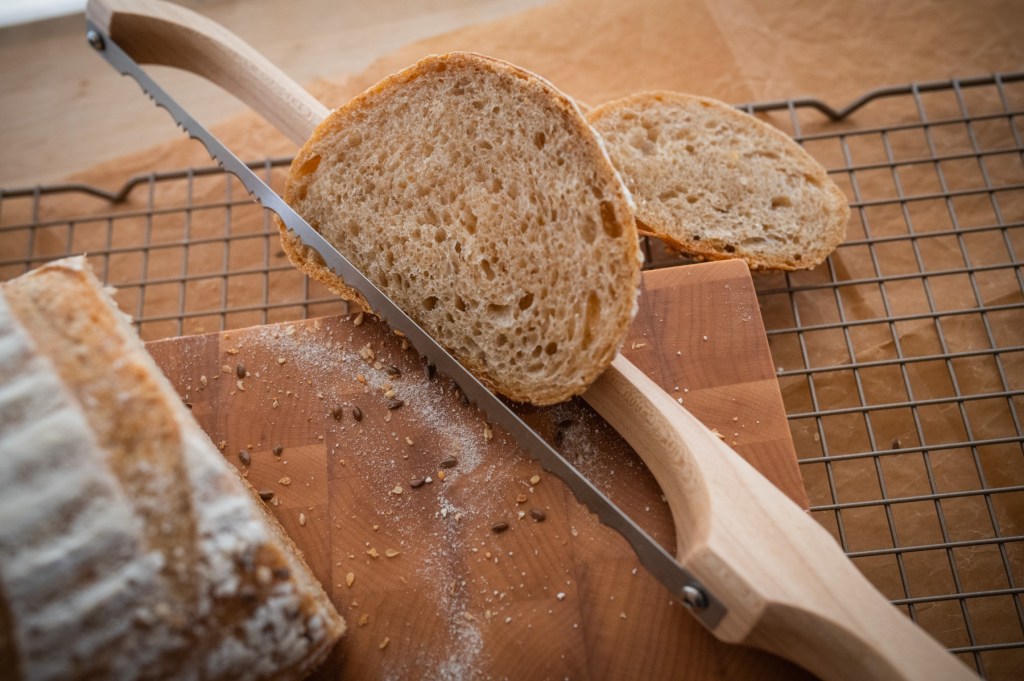
Country food is how the Indigenous People of Northern Canada call their food. Nhar whale, seal, walrus, bear, fish, berries, deer, elk, moose, caribou, and fowl are mainstays. Sharing is the custom. Sourdough is still a lifeline for many. Read through to the end for an updated Sourdough Starter and No Knead Bread recipes that are easy to make and easy to maintain.
Media:
Boreal Gourmet, Boreal Table – Michelle Genest, author, Whitehorse, YT
First We Eat – Suzanne Crocker, Documentary Filmmaker, Dawson City, YT
Places and Experiences:
Inn on the Lake – chef Carson Schiffkorn, Marsh Lake near Whitehorse, YT
Klondike Rib and Salmon – Chef Klayton McColl – in Whitehorse, YT and with a sourdough dating back to 1898
Wayfarer Oyster House – Andrew Seymour, Eddie Rideout and chef Brian Ng’s smoked, fresh and internationally flavoured seafood plus standout cocktails in downtown Whitehouse, YT
Bonton and Co – Shelby Jordan, butcher; Ariel Adams, chef – house-made charcuterie and plant-based local share small plates in this downtown Dawson City, YT gem.
Sun Dog Adventures, Yellowknife – chef Calvin Rossouw – cozy eatery with homemade ice creams like wild mint, Arctic rose, spruce tips and birch syrup.
Wild Cat Cafe – Yellowknife, NWT
A Taste of NWT – Spectacular NWT
Discovery Hotel in Iqaluit, NT – chef Eduardo Delascio Burafah – with seal, caribou, beluga, muskox and narwhal on the menu, chef has a close relationship with local hunters and fishers
Get a Taste of the Arctic while in Nunavut – Travel Nunavut
Nunavut Food Security Council – country food, NT
Beverages:
5 Breweries worth a Pint Stop – Yukon Travel
Featured Recipe: Sweet Sourdough Starter and No Knead Sourdough Bread
SWEET SOURDOUGH STARTER TIPS:
- Keep the starter in a glass or pottery container for best results.
- Never use a metal container and never leave a metal spoon in the starter.
- The starter should have a clean sour milk odour.
- The liquid will separate from the batter when it stands several days but this doesn’t matter.
- If you feed it after each use, the starter stays well.
- If it turns mouldy or develops an off-odour, throw it away and start over.
TO MAKE YOUR SWEET SOURDOUGH STARTER:
Time: 3 days then you feed it on day 4 and use it on day 5
Yield: 1 ½ to 2 cups of starter depending on how thick it becomes. The thickness varies because of room conditions, the age of the starter and other variables.
- 2 cups flour
- 3 Tablespoons sugar
- 1 package dry granular yeast (2¼ teaspoons)
- 1 teaspoon salt
- 2 cups warm water
- Mix the flour, sugar, yeast, and salt in a large bowl (about 8 cup capacity) and gradually stir in the water. Whisk until smooth.
- Cover with a tea towel and set in a warm (80 to 85℉) draft-free place. Tip: I placed mine in my oven with just the oven light on and it worked great.
- Stir the starter 2 to 3 times a day for about 3 days or until the starter is bubbly and produces a yeasty aroma.
- Transfer the starter to a larger bowl, large jar or plastic container. Cover partially (tilt the lid) and refrigerate.
- Feed it on day 4 and use it on day 5. Feed it again then and tuck it away until next use.
NOTE: Feed the starter only after you use it. If it’s been or will be longer than 14 days between uses, freeze it until you would like to use it again.
TO FEED YOUR SWEET SOURDOUGH STARTER:
Time: 5 minutes
- 1 cup flour
- 1 cup milk
- ½ cup sugar
- Whisk the flour, milk and sugar in a large bowl until there are no lumps. Then, stir the feed into the sourdough and store it in the refrigerator until the next use.
CARING FOR YOUR SWEET SOURDOUGH STARTER:
- Always feed the starter after each use.
- Wait at least 24 hours before using again.
- Always keep at least 1 cup of the sourdough from the previous batch.
- If you are not going to use the starter within 2 weeks, freeze it.
- When you’d like to use it again, let it stand at room temperature for several hours. You want the dough to be completely thawed and a bit bubbly before using again.
SHARING YOUR SWEET SOURDOUGH:
- Give your friend one cup of your starter.
- Feed your starter.
- Tell your friend to feed the starter once and leave it for 24 hours minimum. After the 24 hours or up to 2 weeks, they can then use up to 1 cup, feed the sourdough again and carry on.
- Make sure to give them all the guidelines listed above.
SWEET SOURDOUGH NO-KNEAD BREAD
Time: 5 minutes mixing, 8 – 18 hours resting, 5 minutes kneading, 2 hours rising, 30 to 50 minutes baking (sounds like a lot but there’s very little hands-on time)
Yield: 1 good size round loaf
Equipment: Bowls, skillet, cast iron enamel Dutch oven, parchment, nonstick cooking spray
- 2 cups unbleached all-purpose flour
- 1 cup whole grain flour
- ¼ teaspoon yeast
- 1½ teaspoons salt
- ¾ cup room temperature water (plus up to ¼ cup more if needed)
- 1 cup Hermione starter
- 1-2 teaspoons soft butter
- Mixing – Whisk the flour, yeast and salt together in a bowl and fold in the water and sourdough until a loose shaggy ball forms (depending on your climate, you may or may not need the extra water).
- Resting – Cover the bowl with a tea towel and place in the oven with just your oven light or, if you have one, use the proof setting (85-90℉) for 8 to 18 hours.
- Kneading – Lay a piece of parchment paper inside a 10 inch skillet and spray with nonstick cooking spray. Transfer the dough to a flat surface and knead 10 to 15 times then shape into a ball by pulling the edges into the middle on the bottom side. Place the dough on the parchment in the skillet, seam side down, and rub the exposed exterior with a light coating of soft butter.
- Rising – Cover the dough ball loosely with plastic wrap and let rise at room temperature until double in size and not springing back when you poke it with a finger – about 2 hours.
- Baking – Set a timer for 90 minutes then preheat your oven to 500℉ and place a 6 to 8 quart Dutch oven with lid on the middle rack. When dough is ready, use a sharp knife or razor to score the top with a long slit (or your own design) about a ½-inch deep. Open the oven, remove the lid from the Dutch oven and use the parchment paper as a sling to carefully transfer and lower the bread into the pot. Cover with the lid and return to the oven. Reduce the temperature to 425℉ and bake for 30 minutes. Remove the lid at this time. Your bread might be done (mine usually is at this point) or continue baking until it is golden brown.
- Remove from the oven and let cool in the Dutch oven a few moments. Then transfer to a wire rack to finish cooling.
- Enjoy with butter hot from the oven, with soup, for sandwiches or just about anything you like!